
Sick of lumpy protein shakes ruining your post-workout vibe? You’re not alone—and the fix is easier than you think.
Whether you’re a beginner or a seasoned lifter, clumpy whey is frustrating. But with a few simple changes, you can turn every shake into a smooth, delicious boost.
In this guide, I’ll show you exactly how to mix whey protein without clumps—based on real-life experience and what actually works in and out of the gym.
Let’s fix your shake once and for all.
Table of contents
- 1. Use a Quality Shaker Bottle with a Mesh or Ball
- 2. Add Liquid First, Then Whey Powder
- 3. Use Warm or Room Temperature Liquid
- 4. Shake Vigorously for 20–30 Seconds
- 5. Try a Blender for Ultra-Smooth Mix
- 6. Switch to Instantized Whey Protein
- 7. Avoid Old or Moisture-Exposed Powders
- Bonus – My Fast Fix for Clumps on the Go
- Final Thoughts
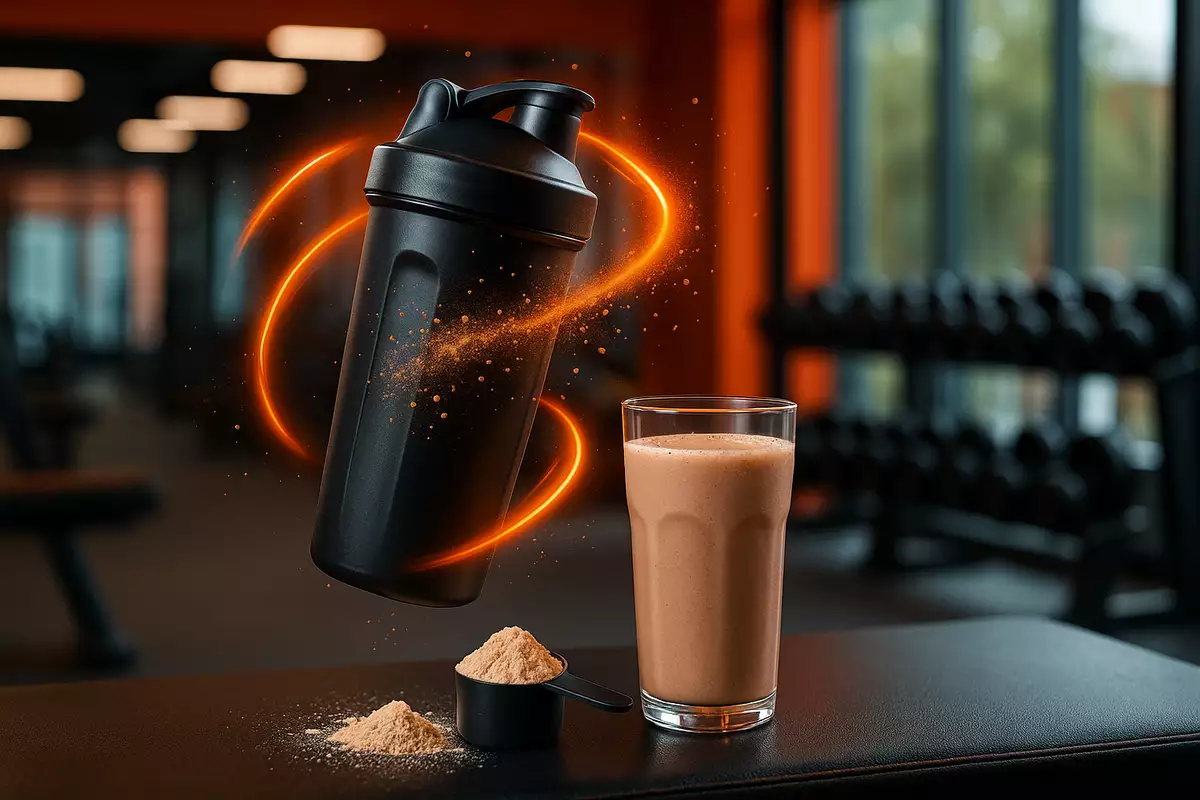
1. Use a Quality Shaker Bottle with a Mesh or Ball
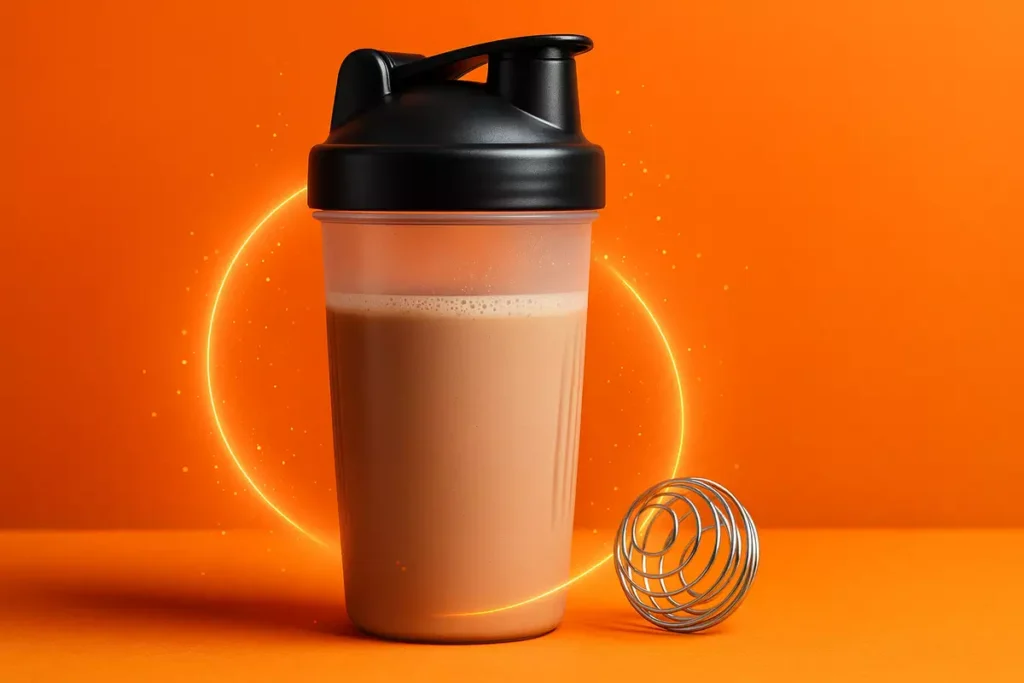
If you’re still using a regular bottle or glass, you’re setting yourself up for a clumpy mess. A proper shaker bottle with a metal whisk ball or mesh grid makes all the difference.
I always keep one in my gym bag. It’s quick, effective, and doesn’t require electricity. One time, after an outdoor session with my client Luka, I used just a basic shaker with water—and the result? Perfectly smooth, even without a blender.
Pro Tip: Avoid cheap shakers with weak seals—they leak and barely mix anything.
If you’re still new to whey and not sure when or how to take it, check out my Whey Protein Timing for Weight Gain guide. It breaks it down by goal and schedule.
2. Add Liquid First, Then Whey Powder
This is the golden rule. Always pour in your water or milk first, and then slowly add the whey powder.
Why? Because when you add the powder first, it sticks to the bottom and sides, making it harder to mix.
I’ve had clients like Sarah from Poland struggle with this exact mistake. She’d dump powder into almond milk with a spoon, stir, and wonder why she hated protein shakes.
Once she reversed the order and used a shaker, problem solved. If you’re looking for a great balance between convenience and fullness, consider reading Whey as a Meal Replacement.
3. Use Warm or Room Temperature Liquid
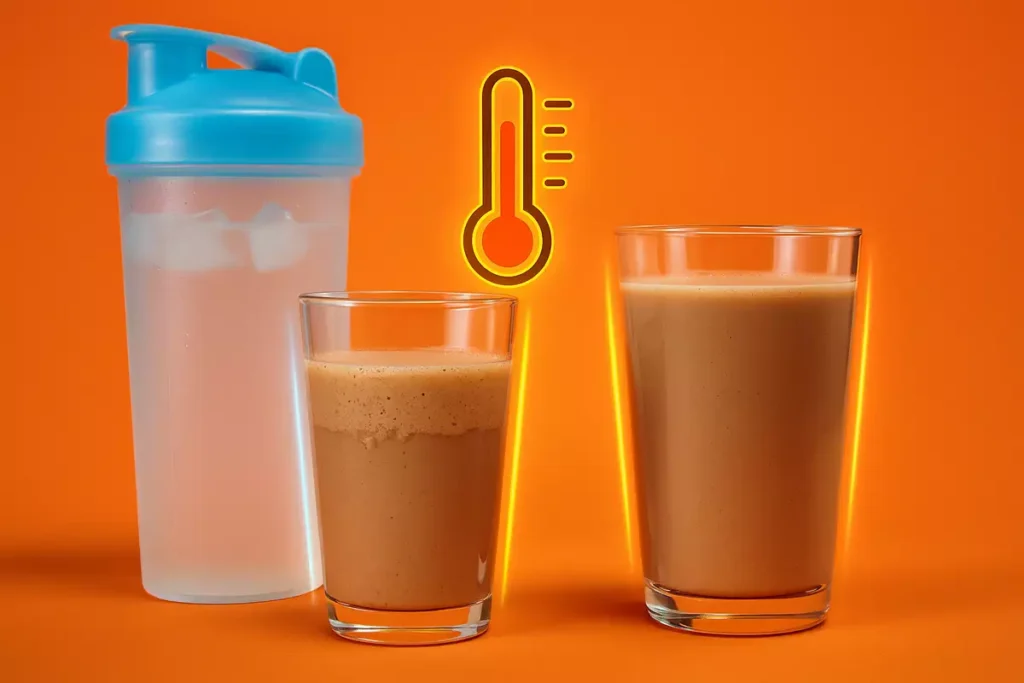
Cold liquids don’t dissolve protein powder very well. Using room temperature water or milk helps the whey dissolve faster and more completely.
I’ve found this especially helpful during the winter months when mixing shakes in cooler kitchens. If your liquid is icy cold, let it sit for a few minutes or mix with lukewarm water and chill later.
This trick is especially useful for those using Whey During Intermittent Fasting, where digestion speed matters even more.
4. Shake Vigorously for 20–30 Seconds
Don’t just swirl it gently and expect magic. Give it a good 20–30 seconds of strong shaking. Think of it like a mini arm workout—earn those gains before you drink them.
One trick I teach my beginner clients: shake in a figure-eight motion. It hits more angles and breaks down clumps faster.
Also, if you’re combining whey with creatine, technique matters even more. See Whey and Creatine Stack Guide for smart tips on mixing both without ruining either.
5. Try a Blender for Ultra-Smooth Mix
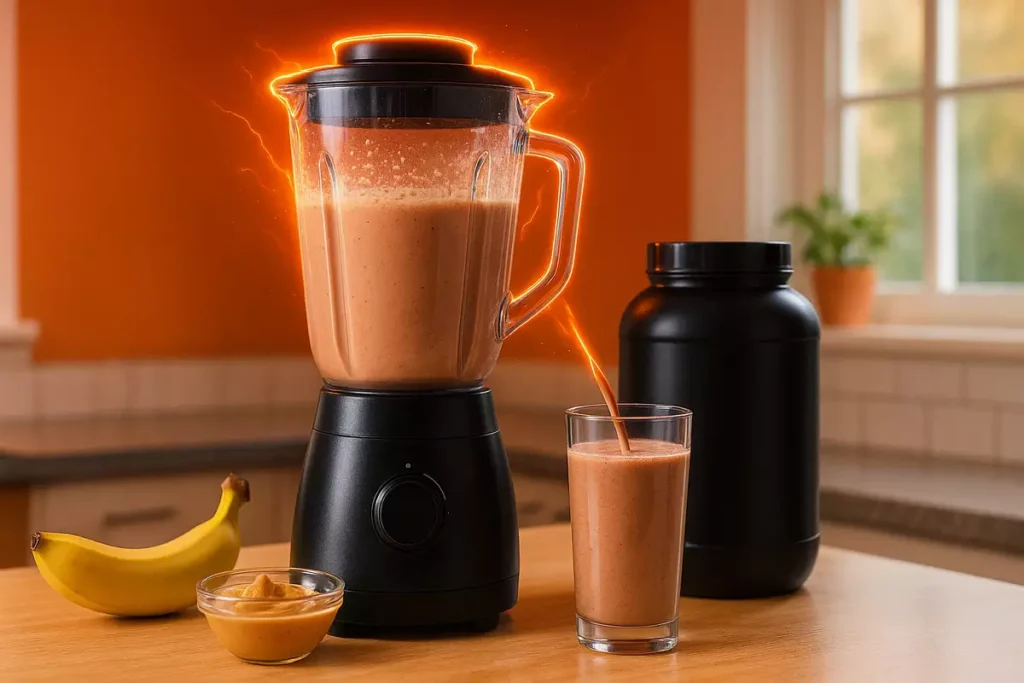
If you’re adding other ingredients like oats, banana, or peanut butter, a blender is your best friend. It’ll break down everything into a creamy texture.
That said, I personally reserve blenders for home or post-workout meals. On-the-go? Shaker bottle all the way.
If you’re unsure whether to use whey alone or stack it with mass gainers, check out my full Mass Gainer vs Protein Shake Comparison.
6. Switch to Instantized Whey Protein
Not all whey proteins are created equal. Some brands are harder to mix—especially cheaper, non-instantized options.
From experience, Optimum Nutrition and Dymatize ISO100 mix effortlessly. But I once tried a local brand that clumped like cement—even with warm water and a blender.
Lesson learned: quality matters. And if you’re lactose sensitive, mixing can be even worse. See my full Lactose-Free Whey Protein Guide for better alternatives.
7. Avoid Old or Moisture-Exposed Powders
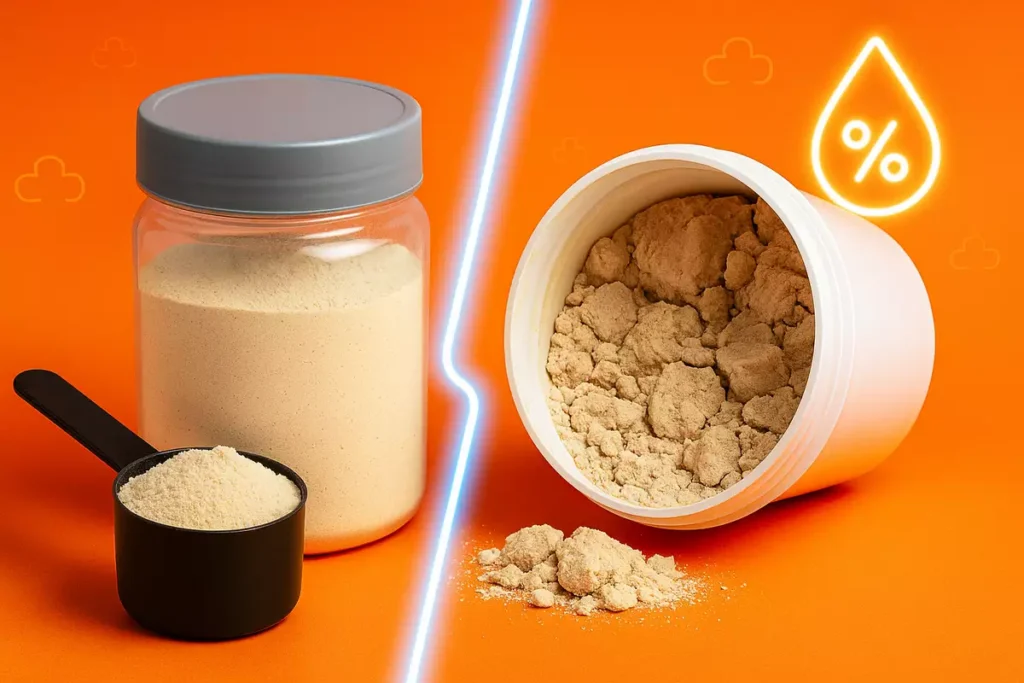
If your whey protein has been sitting open for months or exposed to humidity, it might start clumping even before you add liquid.
Keep your whey in a cool, dry place, and always close the lid tightly. I recommend using an airtight container if you live somewhere humid.
This is especially important if you’re following a long-term plan like Whey for Fat Burning where consistency is key.
Bonus – My Fast Fix for Clumps on the Go
There’ve been times when I had no blender, no fancy gear—just a scoop of whey, a water bottle, and zero patience.
Here’s what I do:
- Add water first.
- Slowly pour in the whey while shaking gently.
- Once all powder is in, shake hard for 30 seconds. Done.
It’s saved me countless times—like that afternoon in the park with Luka, right after a dumbbell circuit.
Final Thoughts
Whey protein is supposed to fuel your goals, not frustrate your mornings. By following these simple tips, you can say goodbye to clumps and enjoy every shake like a pro.
Whether you’re bulking, cutting, or just trying to hit your protein goals, the right mixing method makes a big difference. Don’t settle for grainy, gritty shakes.
Small habits = better consistency = bigger results.
Want to dive deeper? If you’re a woman lifter wondering how whey fits your routine, check out Whey Protein for Women Lifters.
Your shaker deserves better. So does your body. Let’s mix smart and fuel right. 💪
Leave a Reply